The improved second generation magnetic pendulum calligrapher with electronic remote-control brush.
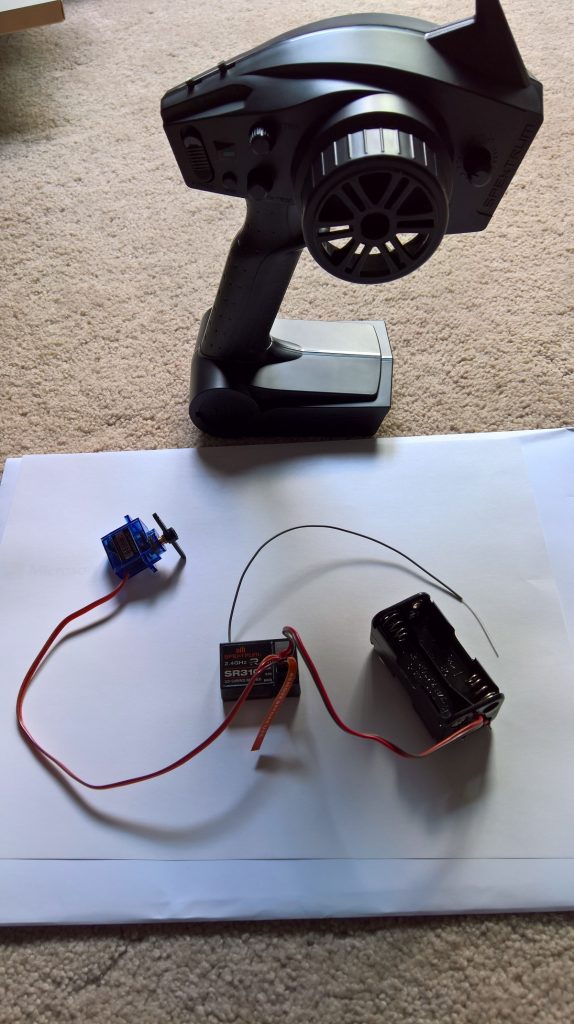
After having so much fun with the v1 version of the “drawing pendulum”, I decided to improve and build “Magnetic Pendulum Calligrapher v2” by adding a RC car servo with controller for about $80, and re-configuring the pendulum construction and hinge.
The final construction and prep looked like this:
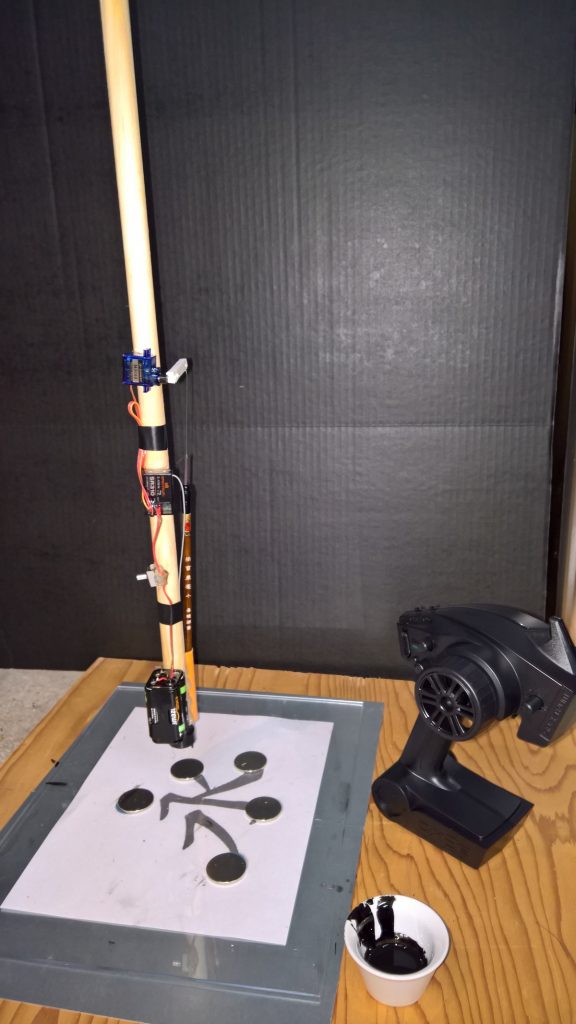
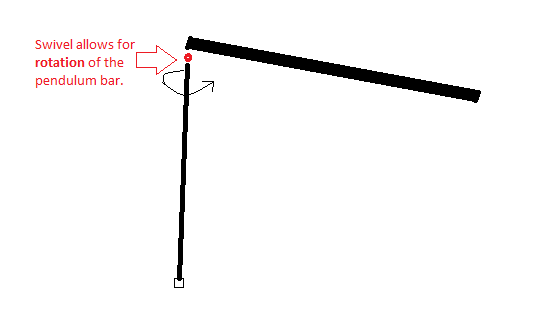
The pendulum uses a 1.2m solid wood rod. I’ve experimented initially with a suspension made from a bunch of hooks, but settled on a more flexible suspension made from fishing gear so it can rotate when needed.


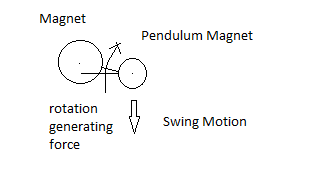
It is one of these physical facts that are omitted from the computer simulation. The magnets have a physical extend, and this causes the pendulum bar to “roll” around its axis in certain configurations.
The final constructions looks like this – all the mechanics are simply taped or glued to the rod, and the brush is guided by a plastic tube (a re-purposed toy flute).
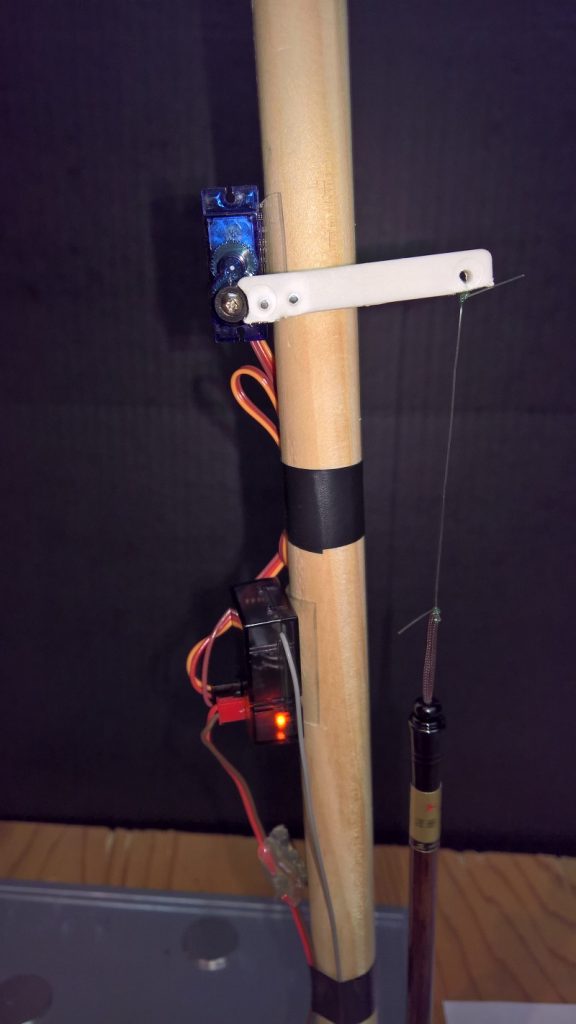
The micro servo could move the brush very accurately and fast up and down:
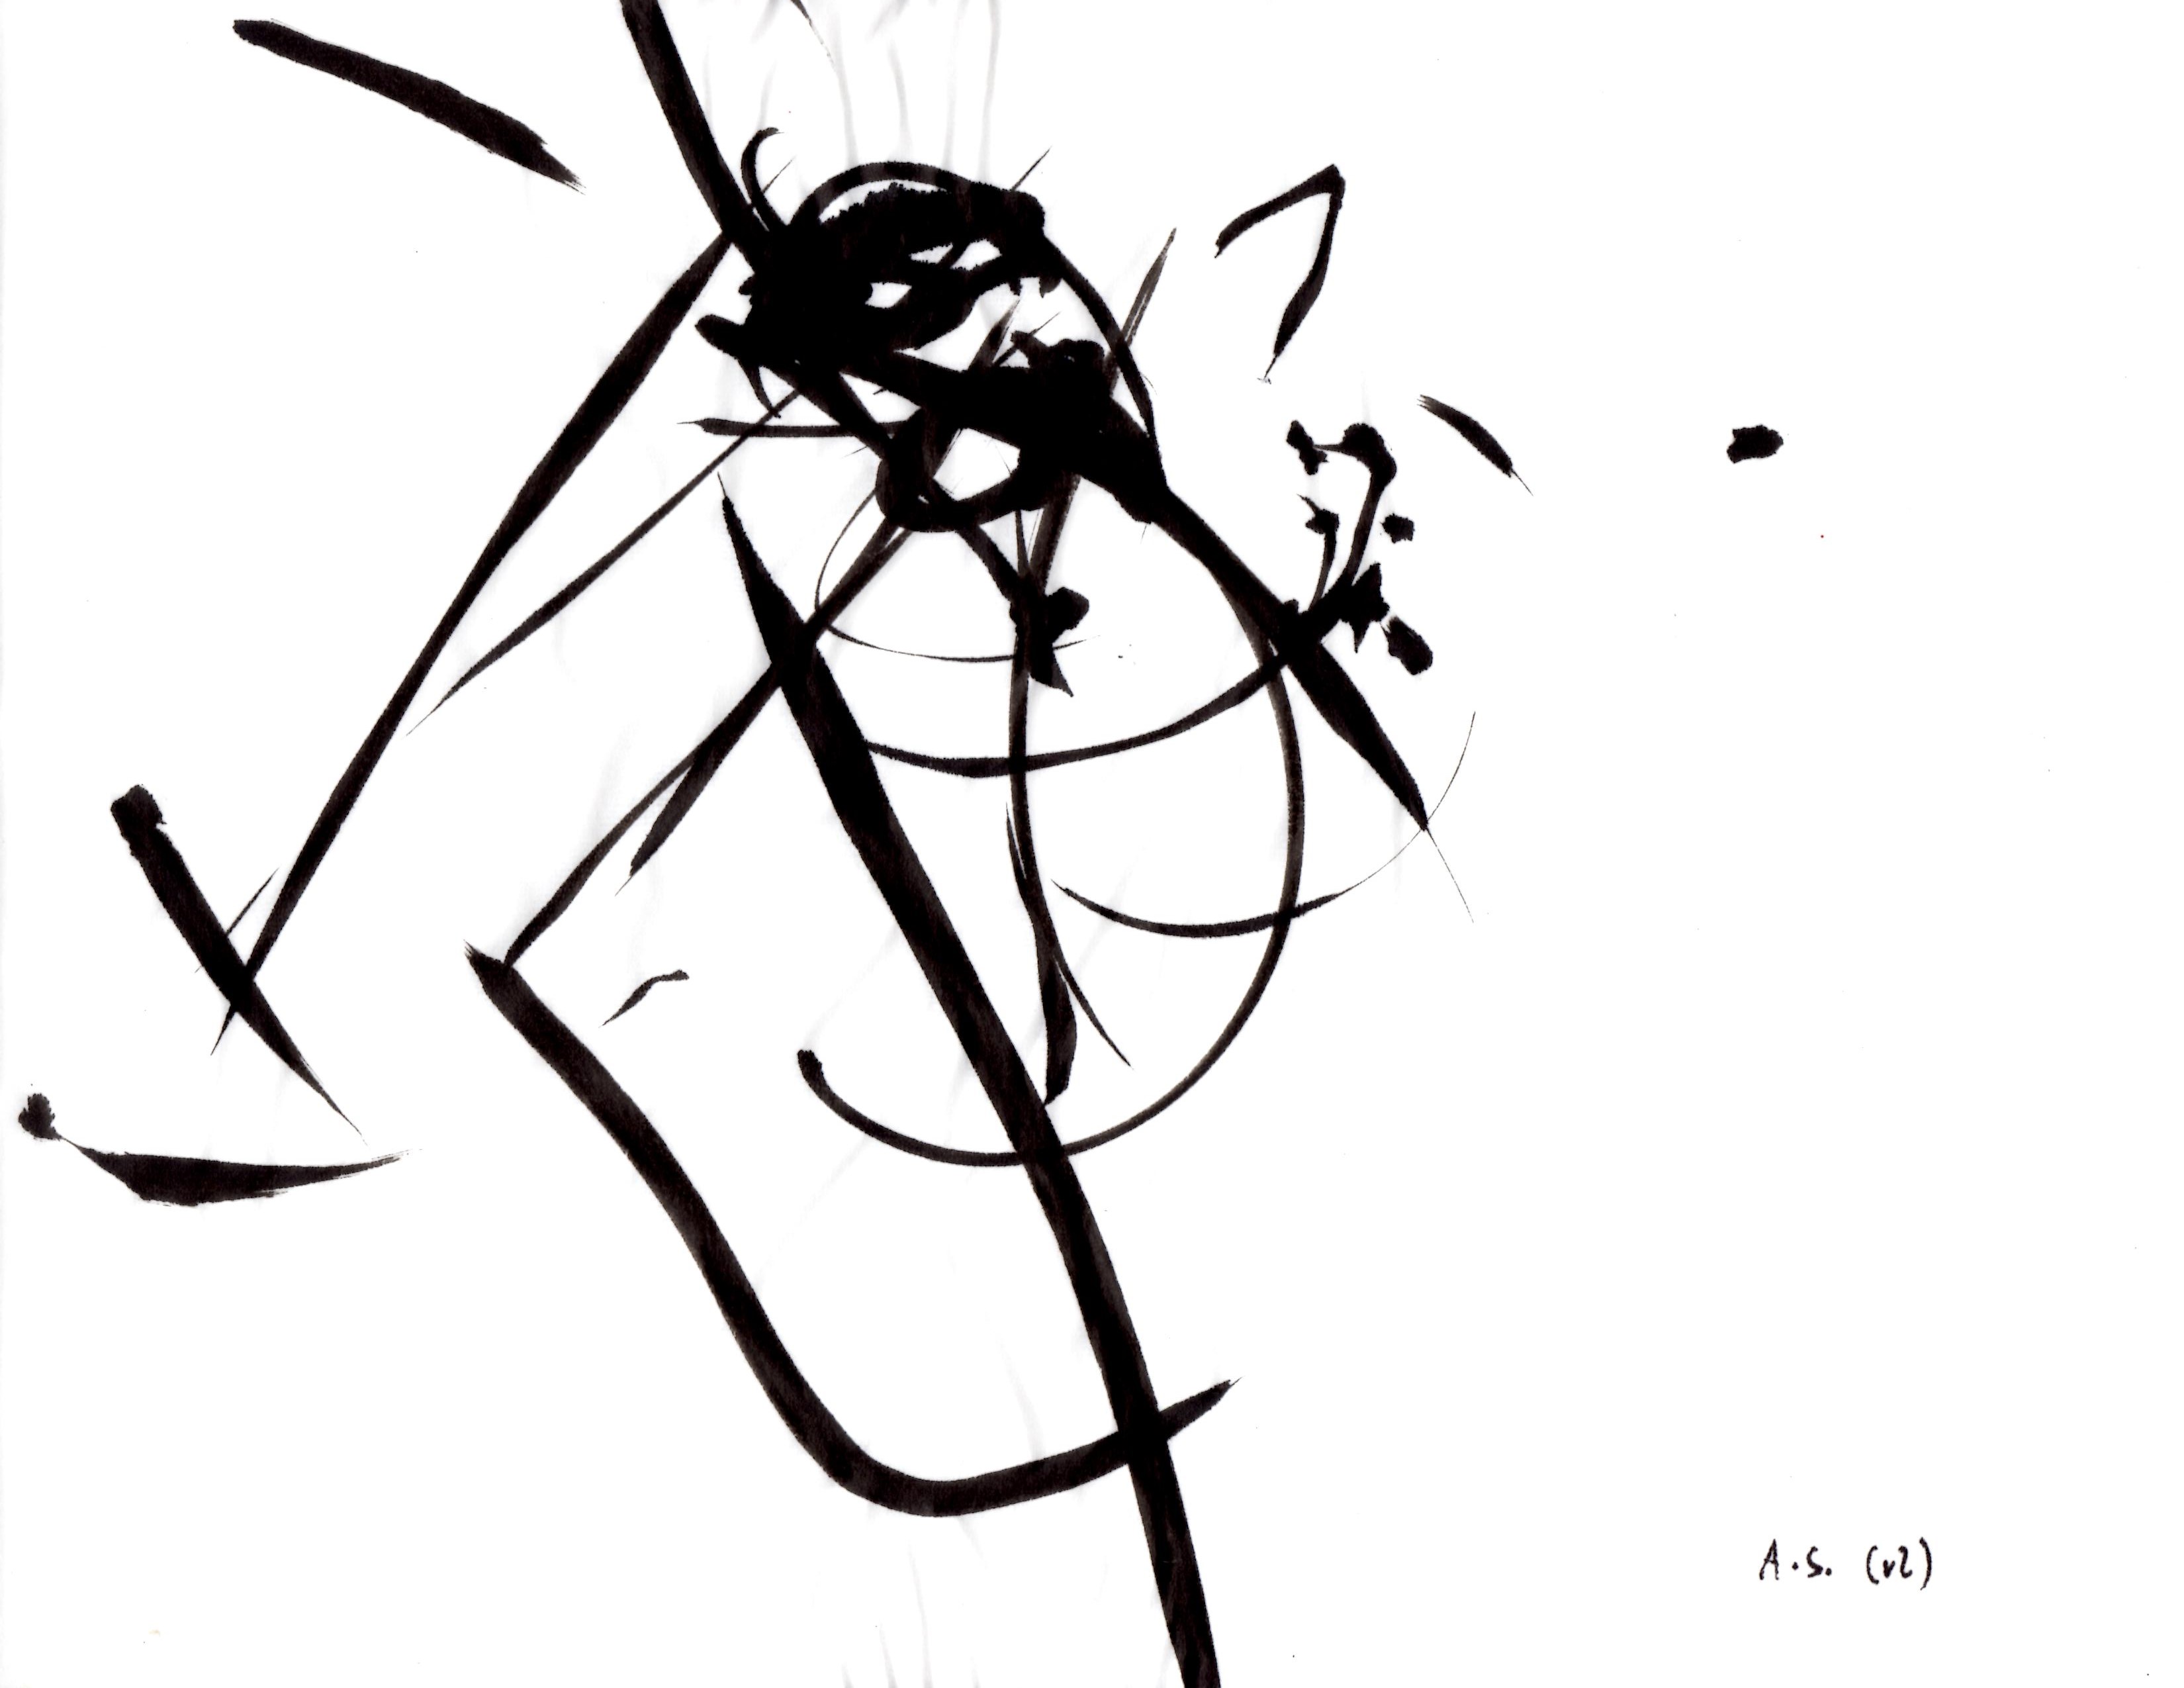
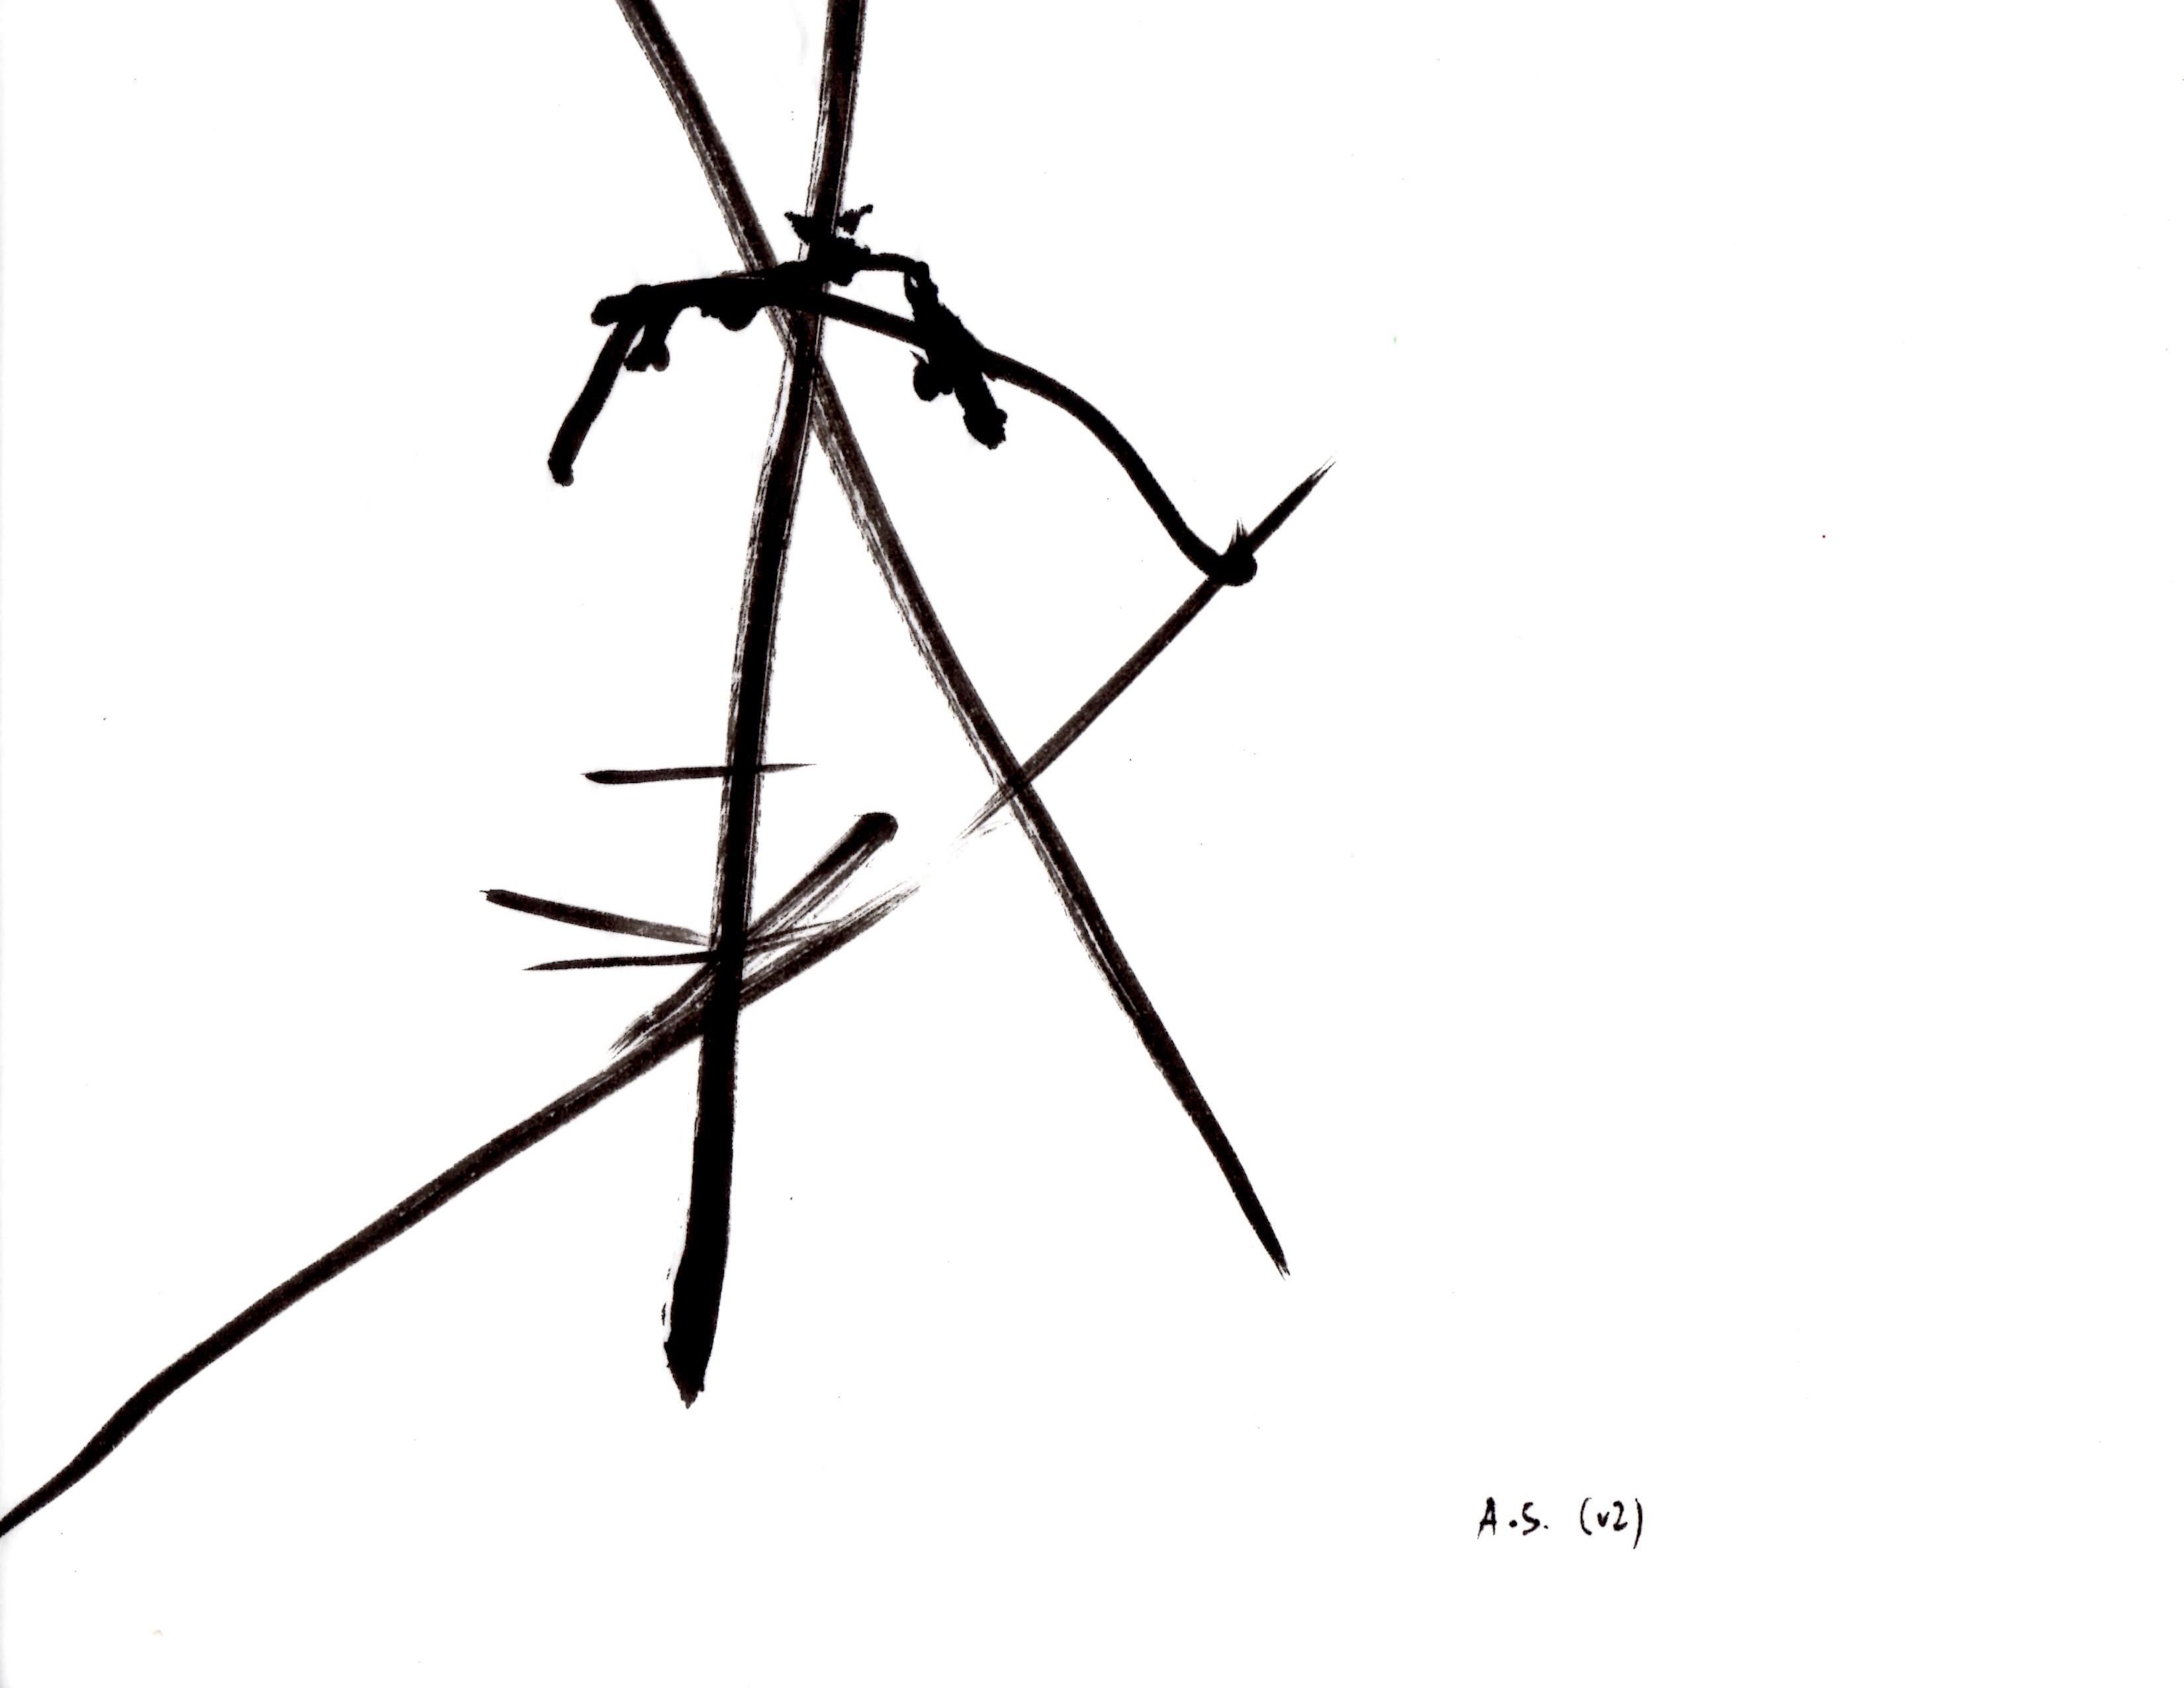
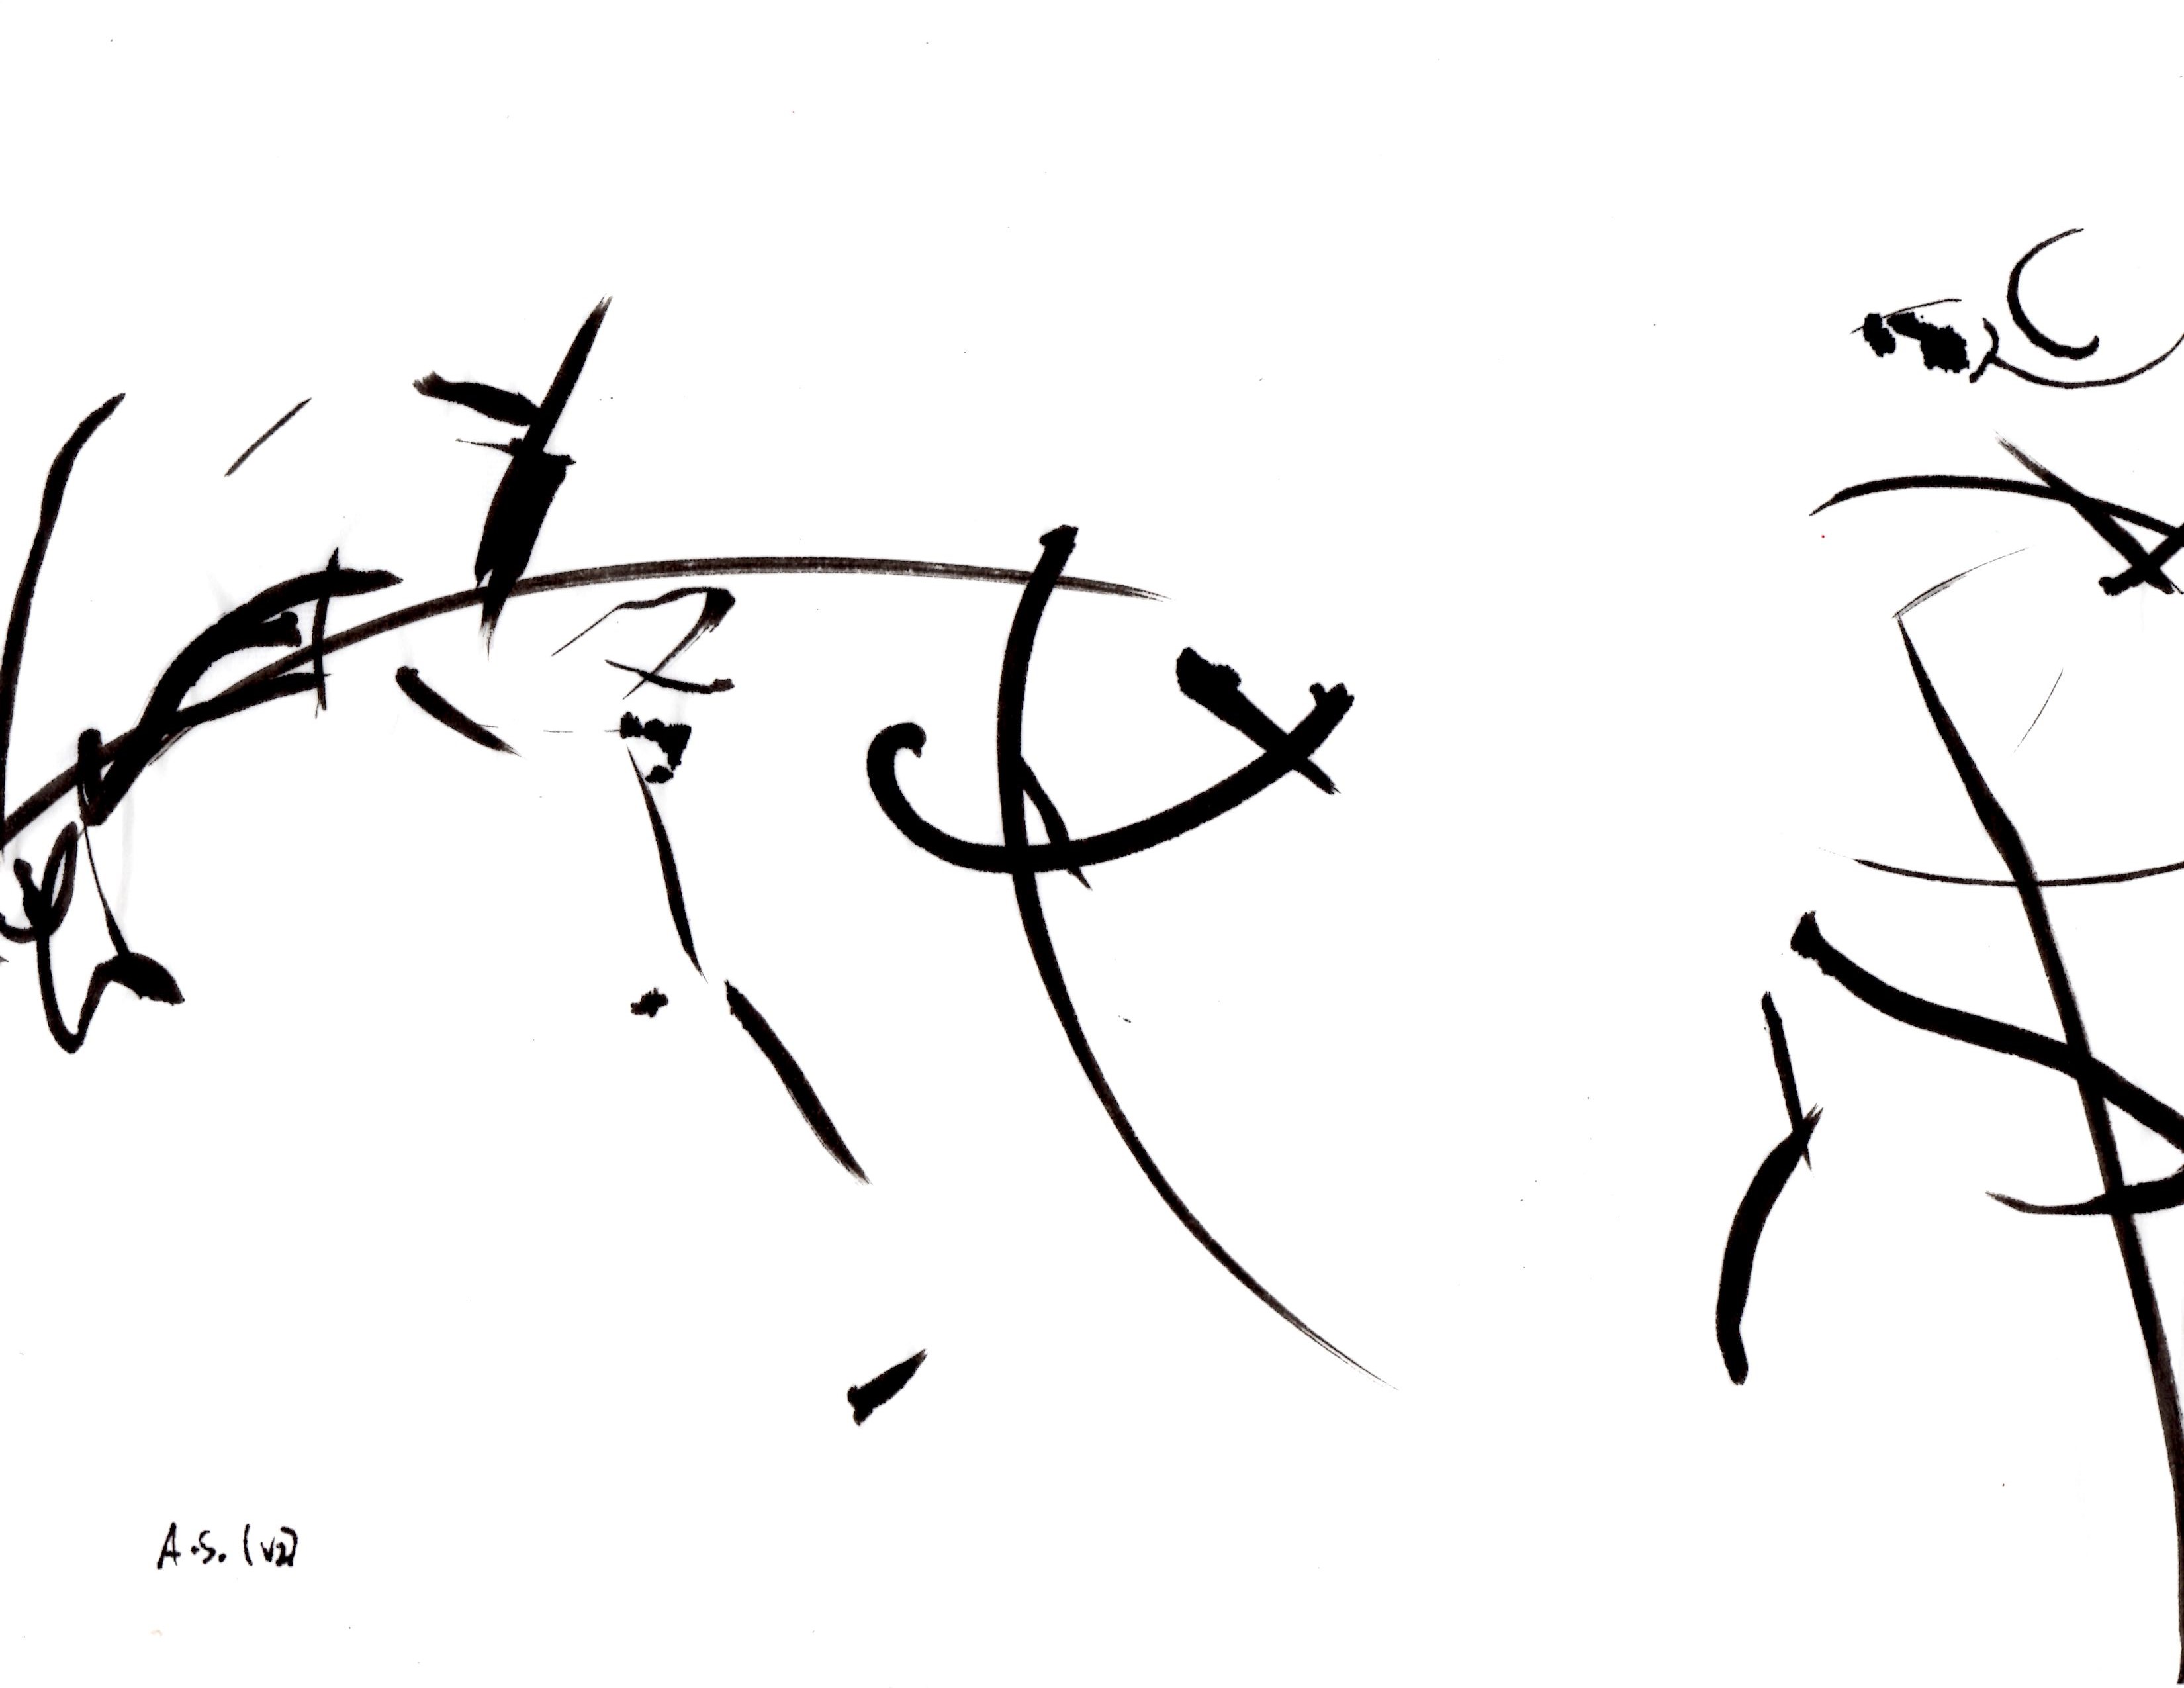
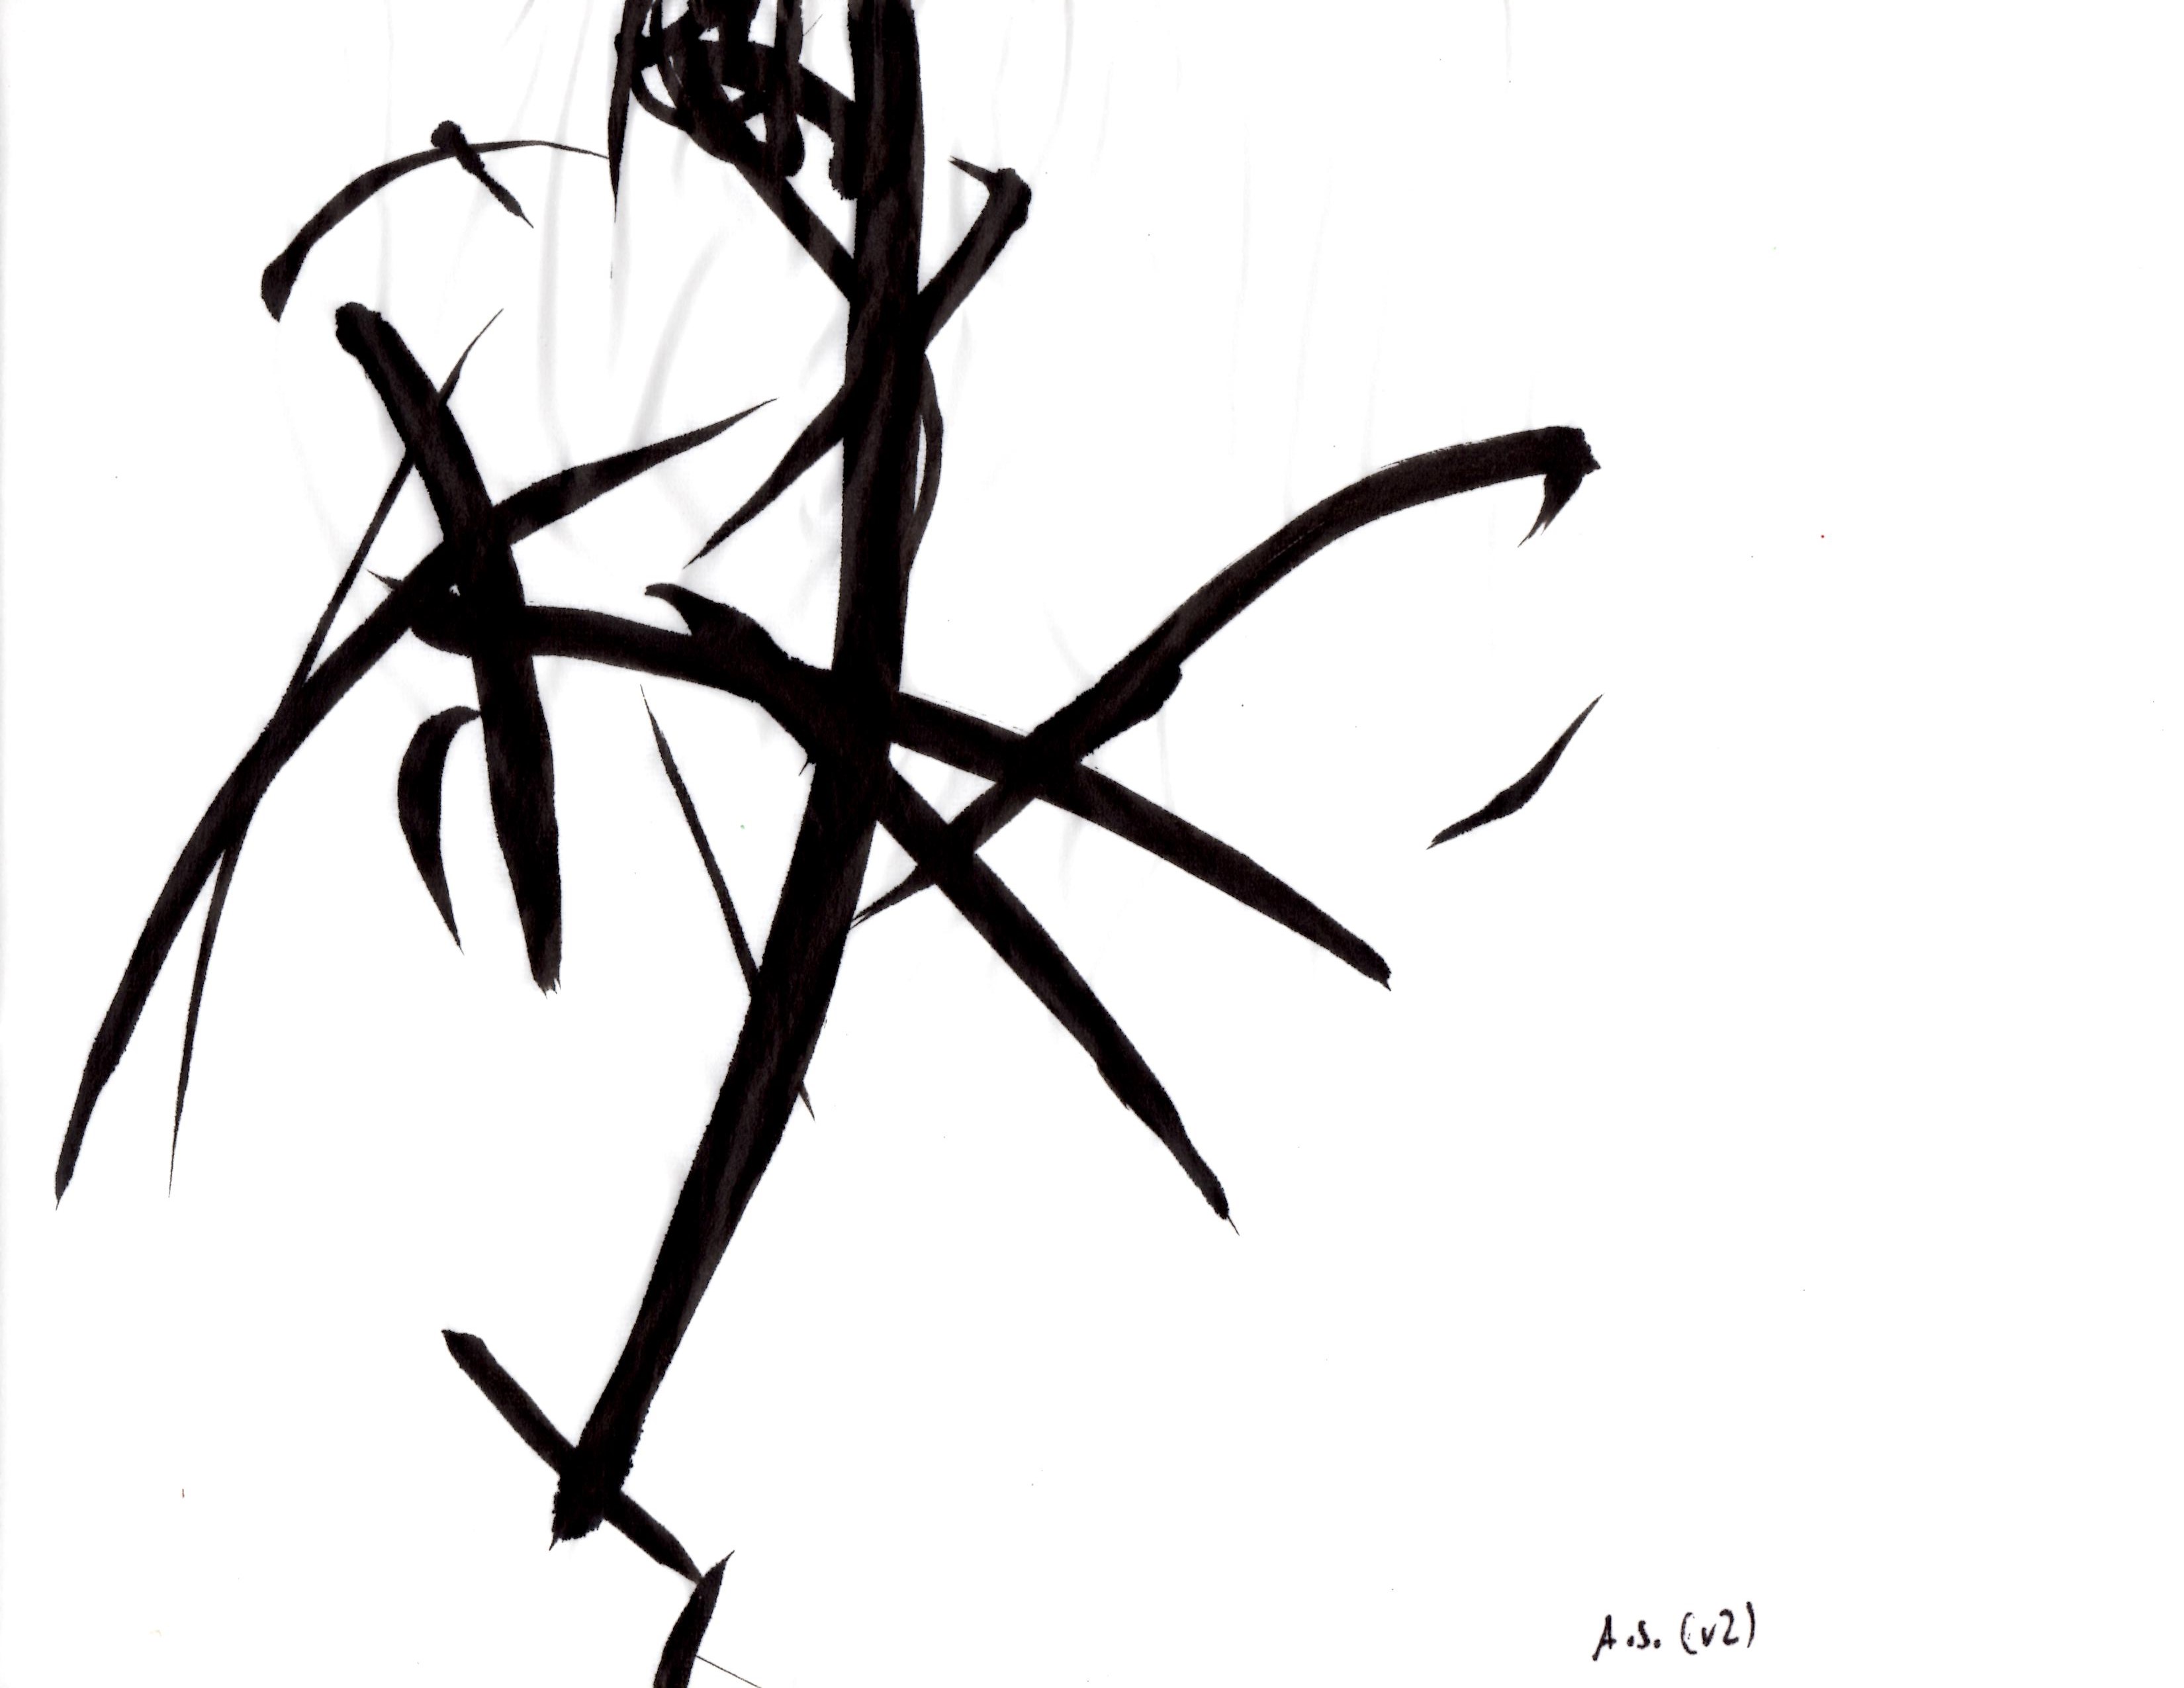
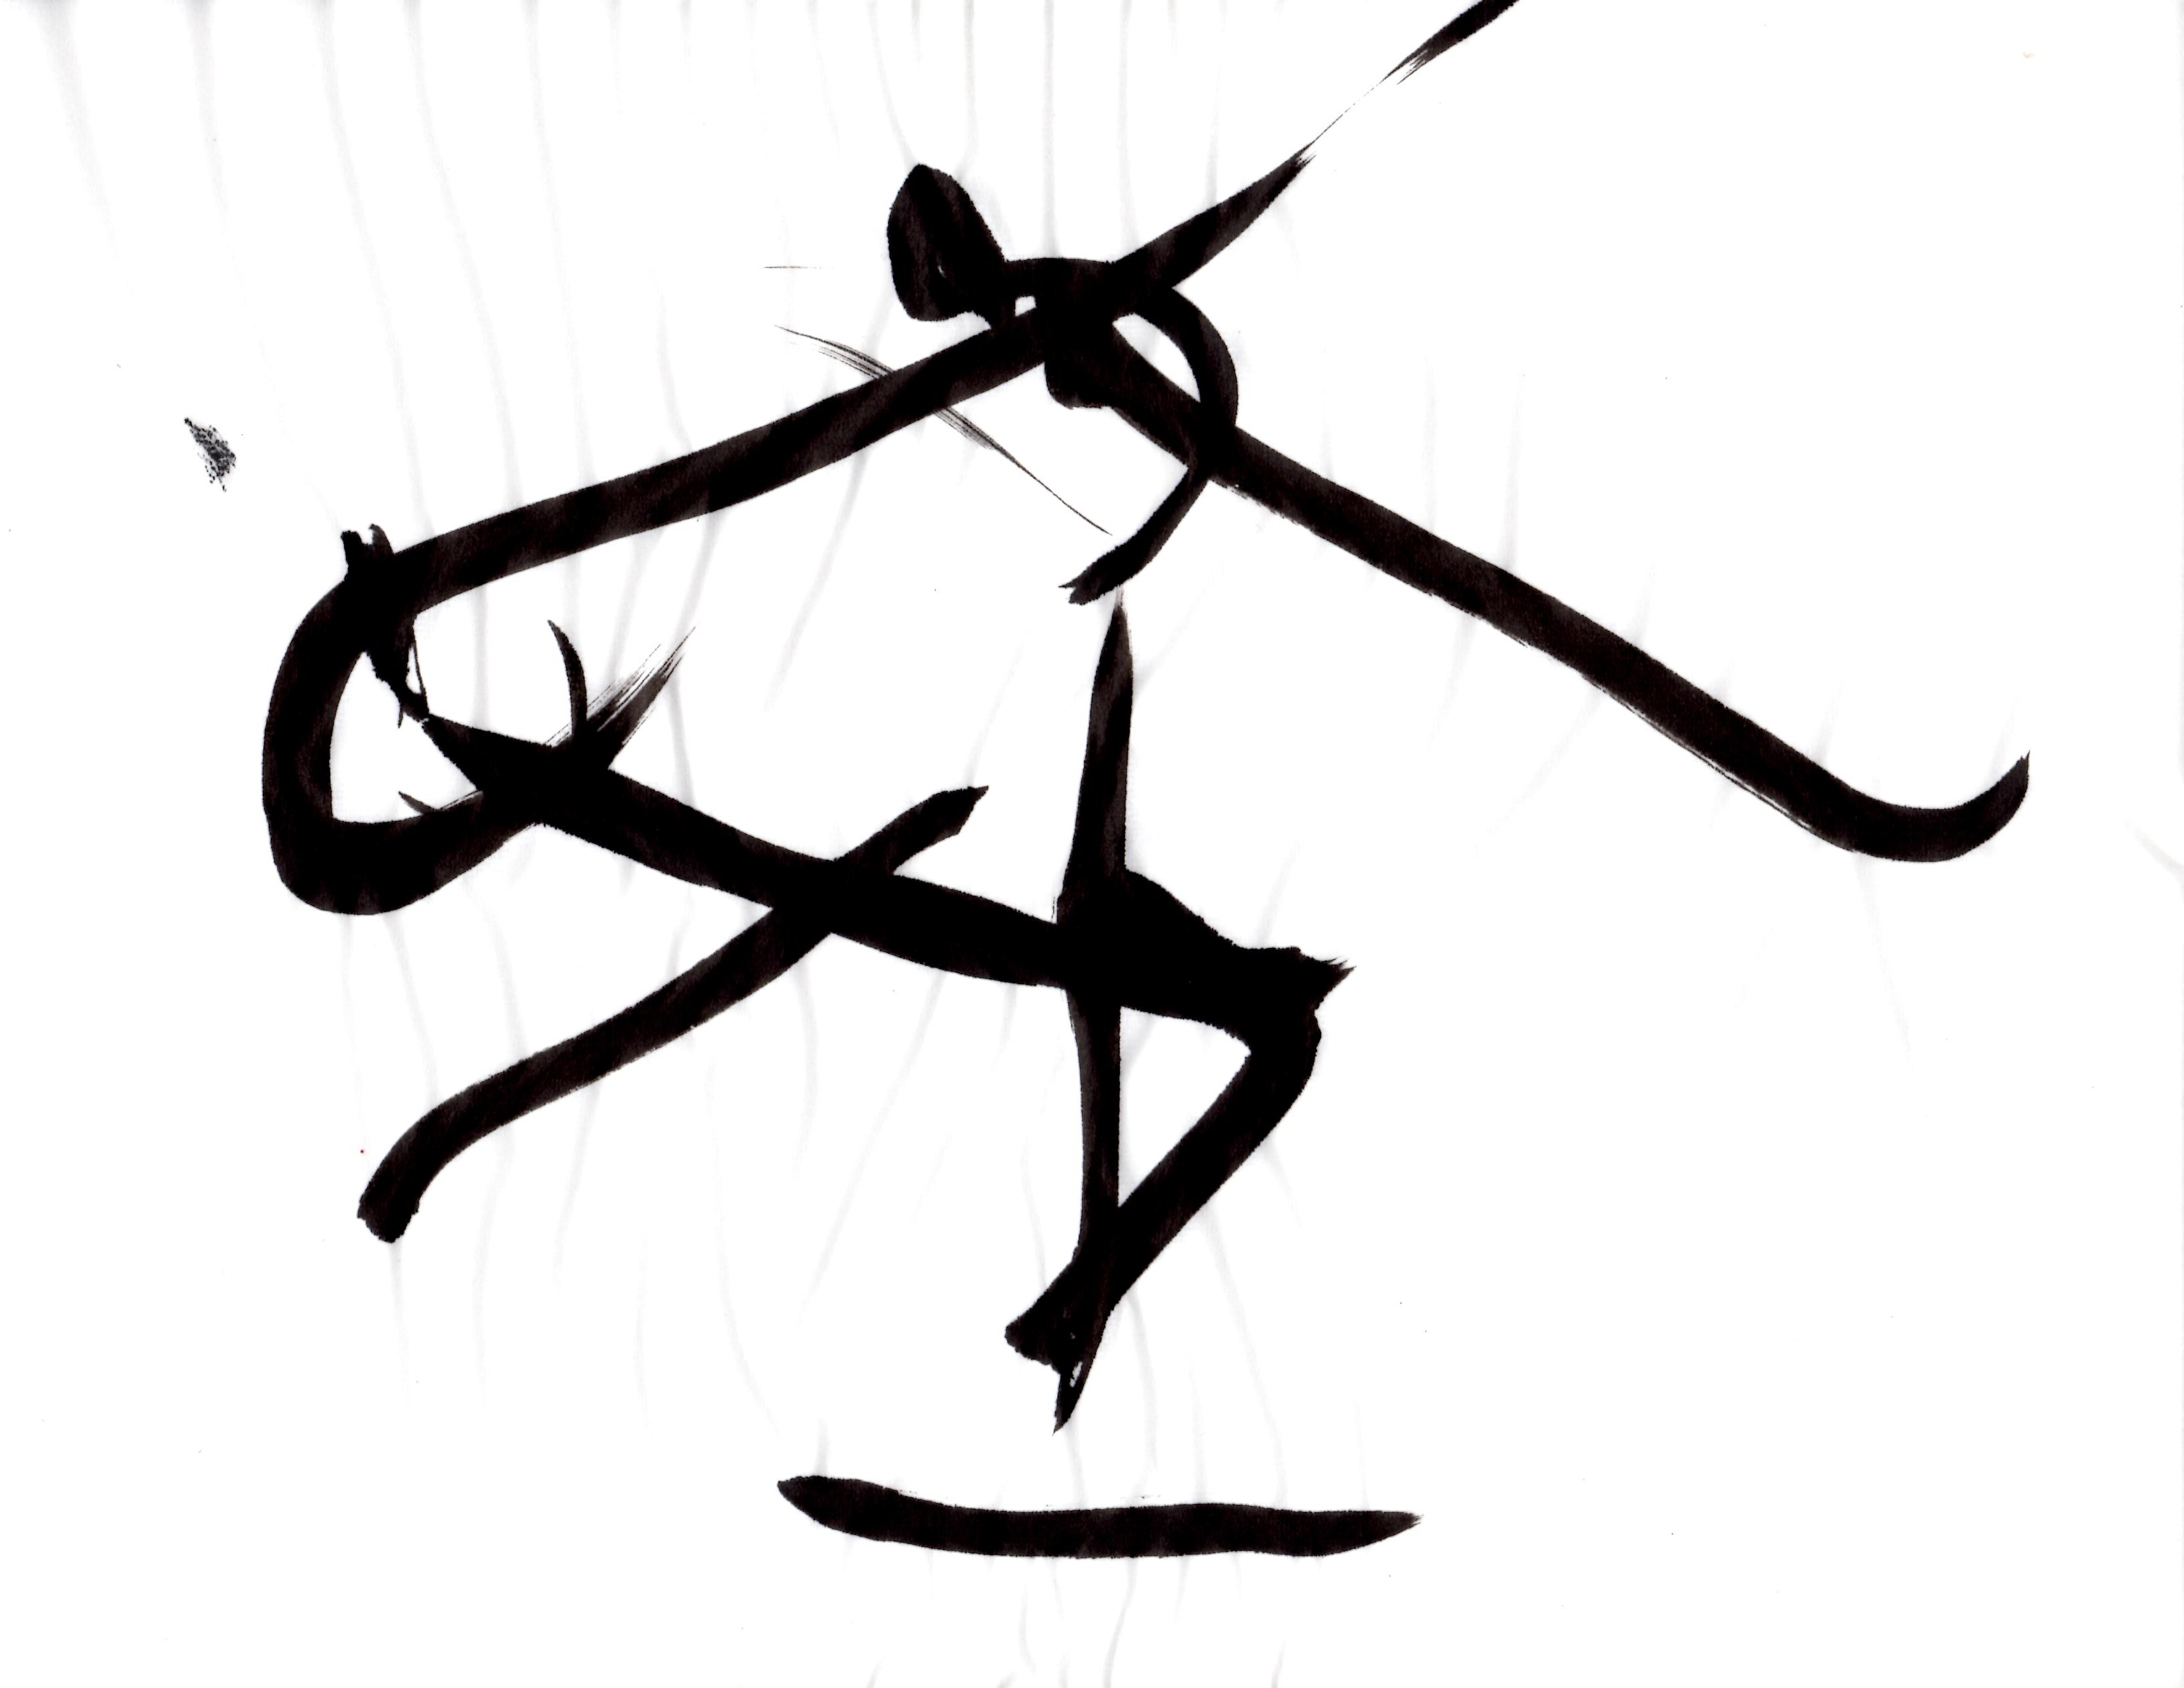
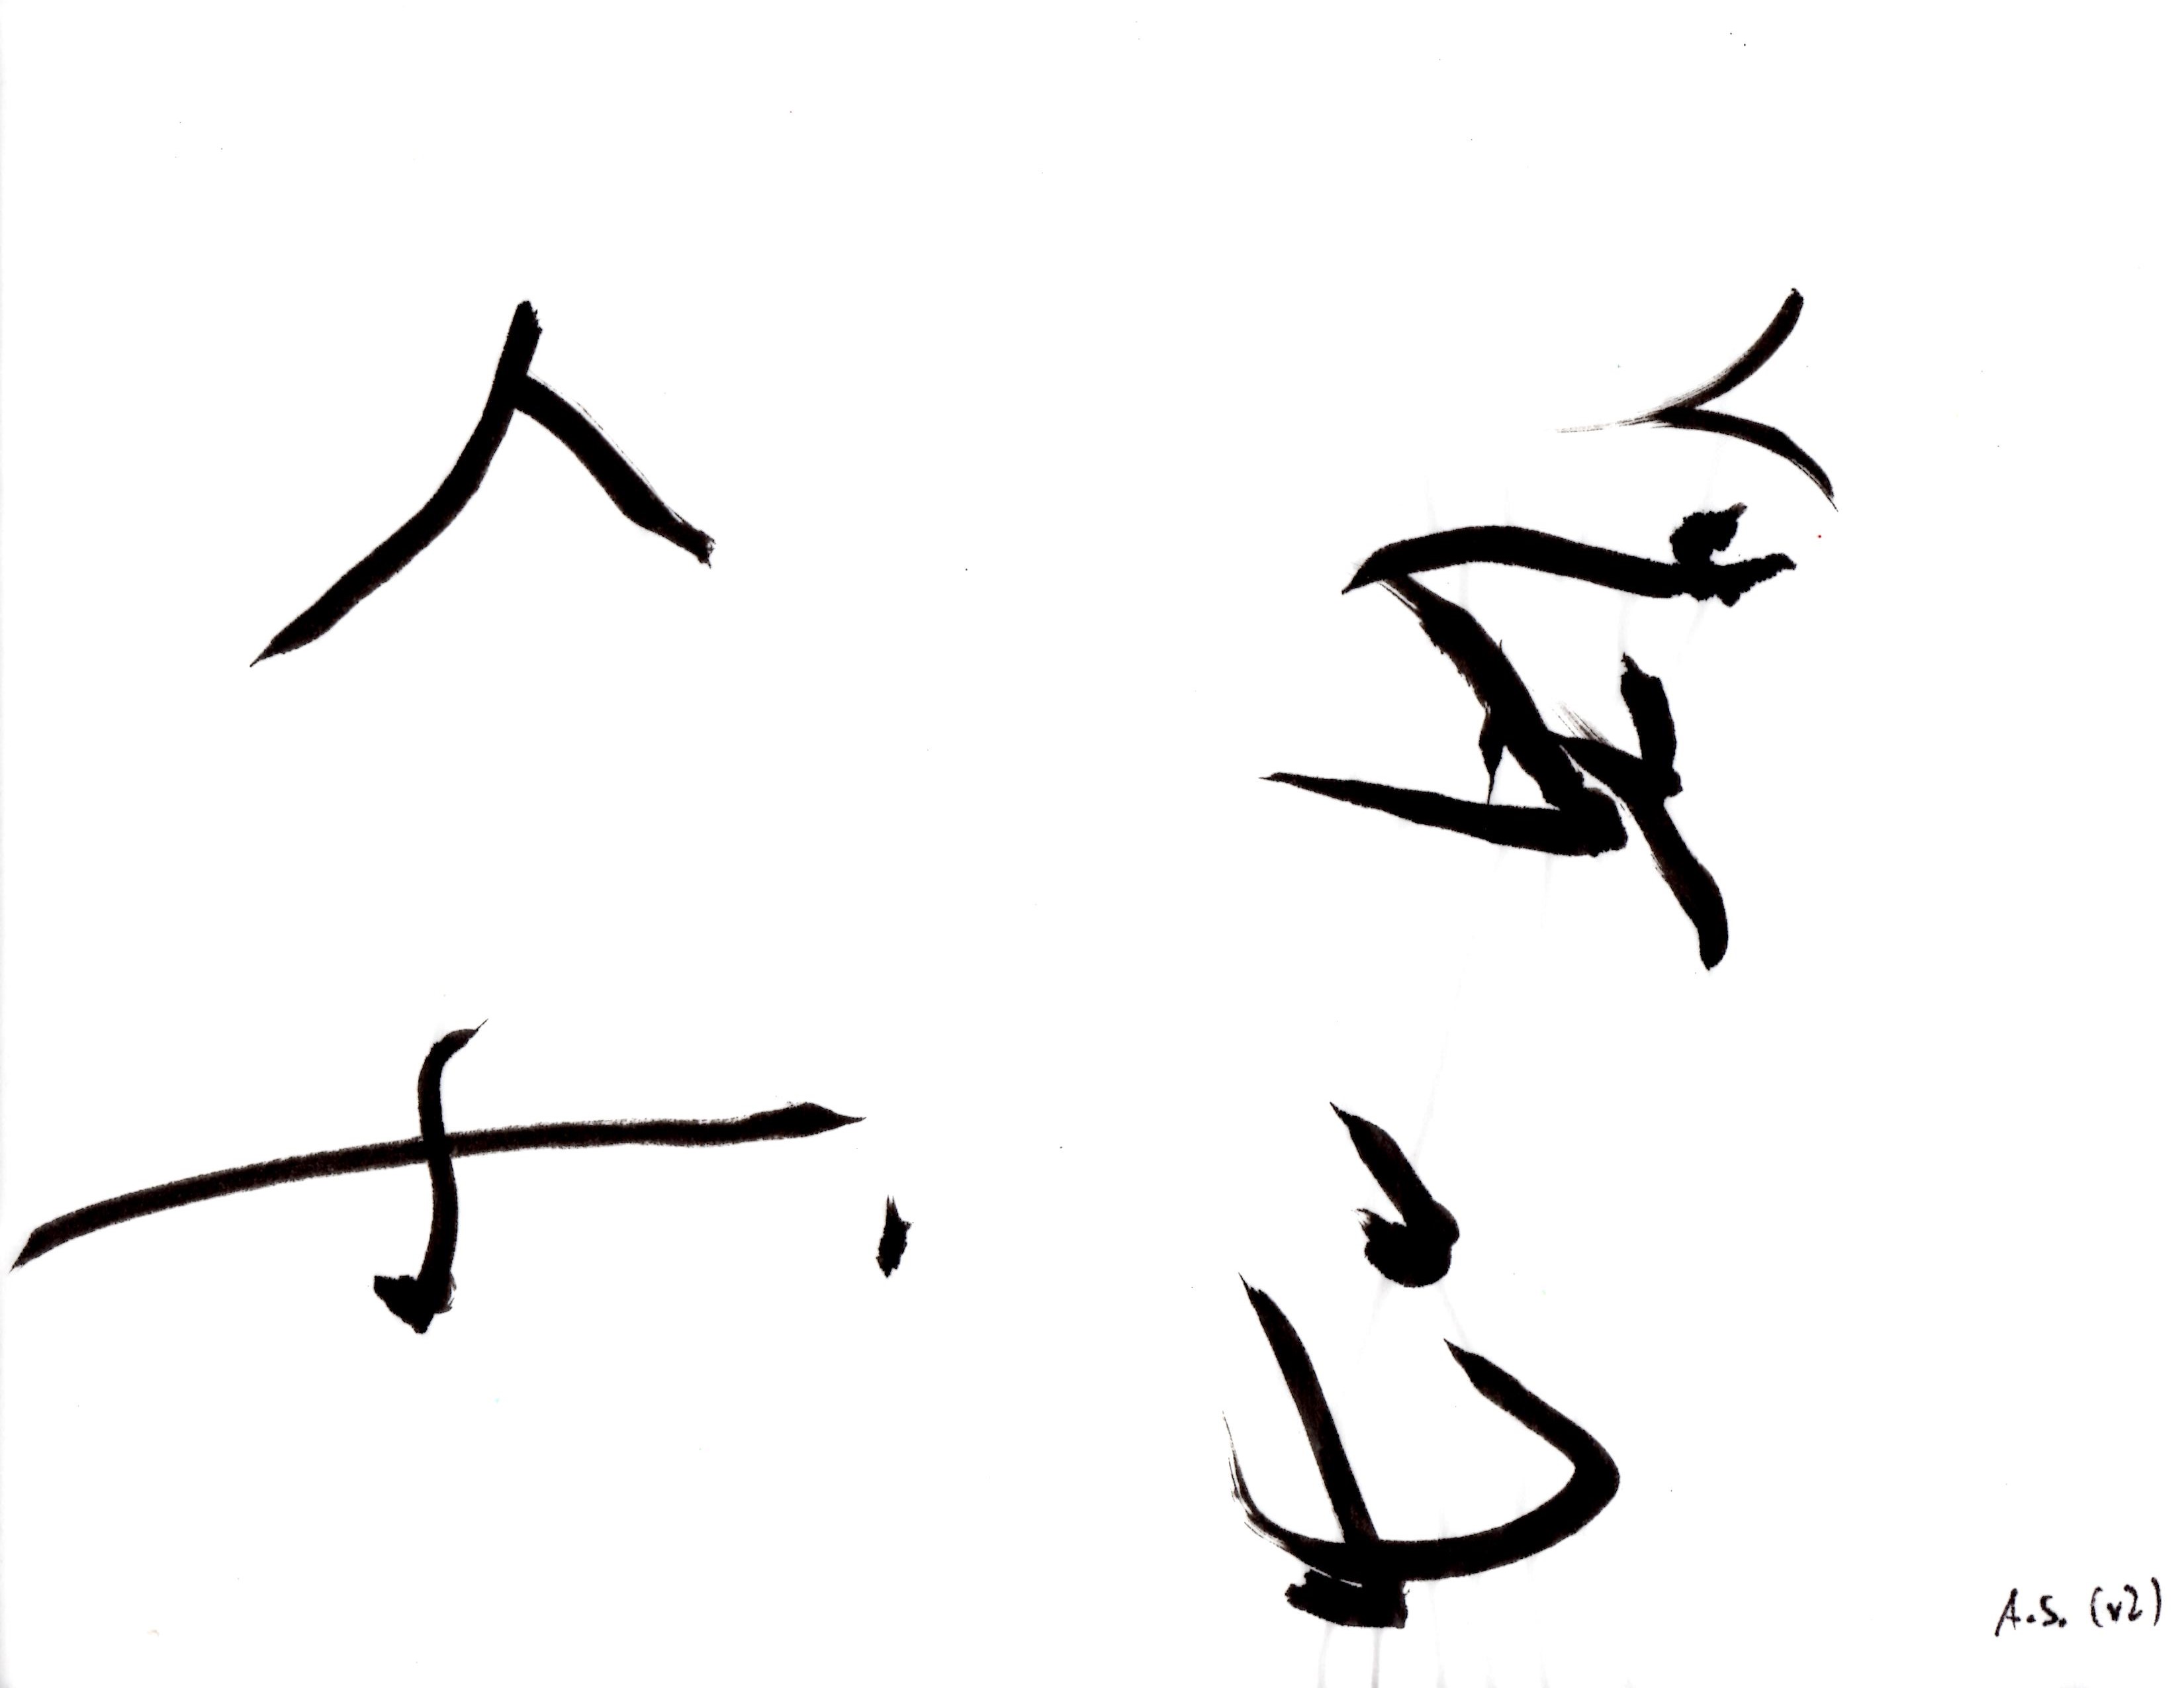
I think it worked very well – with the exception of the spinning motion the head tends to develop (see video linked below) since it is not symmetric in weight at all. Still, I was able to write something that resembles Chinese characters.
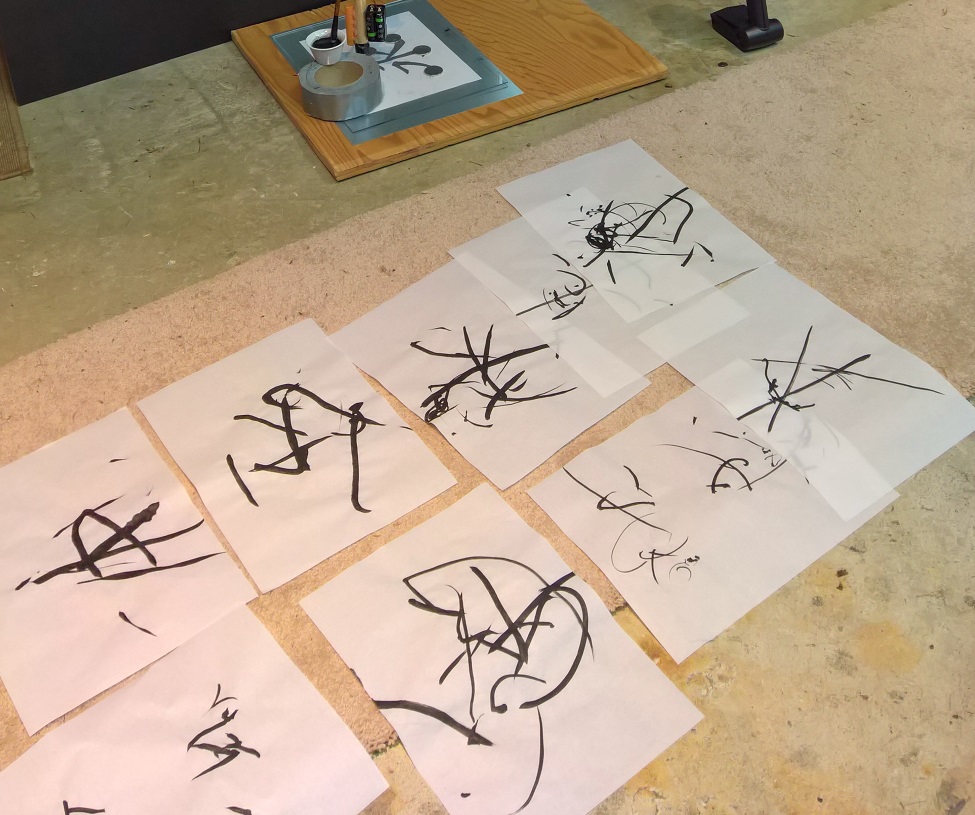
I’ll probably need to set it up somewhere other than the garage, and practice my drawing skills.
A 3min video of the v2 pendulum in action is here:
http://www.ferzkopp.net/Videos/MagneticPendulumCalligrapherV2.m4v
Lessons learned:
- the servo control and the solid pendulum rod was the key to get the drawing mechanism working well
- it is a lot of fun to draw with this contraption; I got better over time controlling the machine
- it is very easy and relatively cheap to build something that is usable for experimentation (total cost so far about $160)
- it is hard to build something that works really well (i.e. an even bigger pendulum that generates smooth stable motion and has accurate brush controls, and also looks good) – great extended project again, as long as one has a workshop and some resources to play with!
- placing the magnets as indicated in the diagram did not always generate the strokes needed for the characters – I have a feeling that one may need to place the magnets in quite different locations (maybe the spaces between strokes) or experiment also with smaller magnets or reverse polarity (repulsive force).
- I have no idea what it is “writing” … probably not Chinese! 😉
A better v3 pendulum construction would combine the v1 and v2 designs: same pendulum construction with a swivel at the top (v2), but using a solid tube to guide the brush (v1). With the brush centered into the solid tube, rotations of the pendulum would not show up much in the drawings.


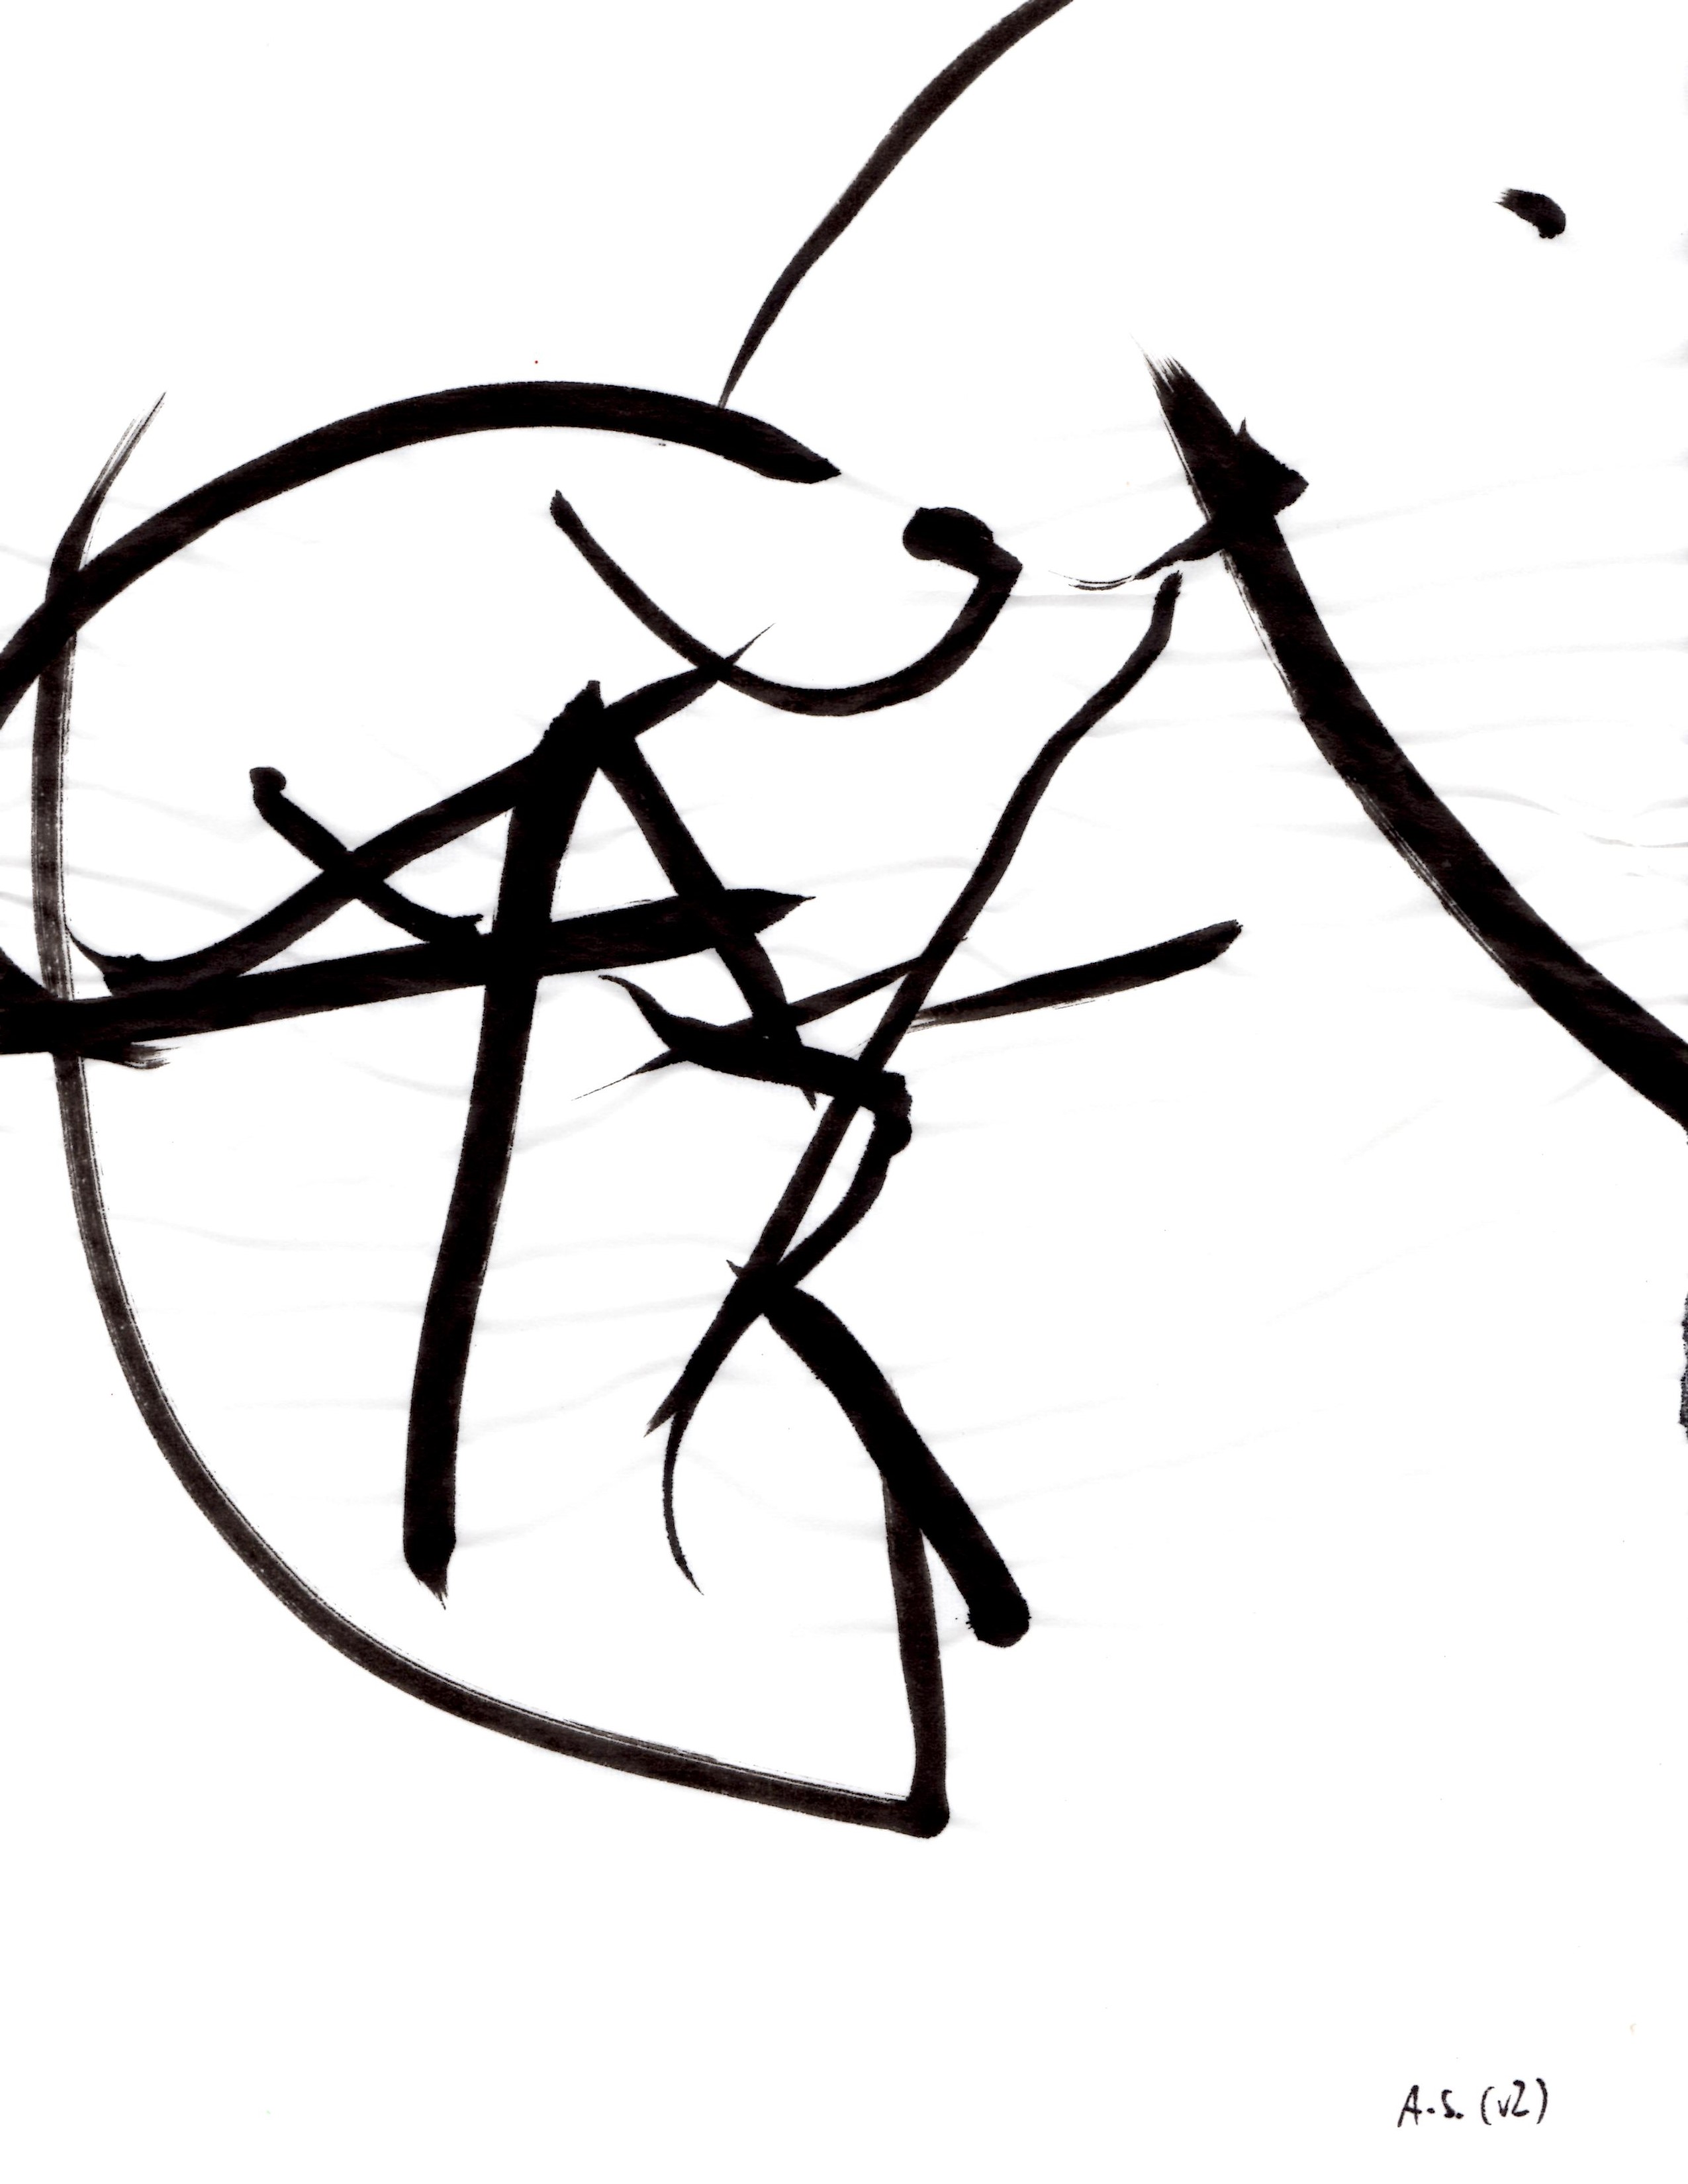
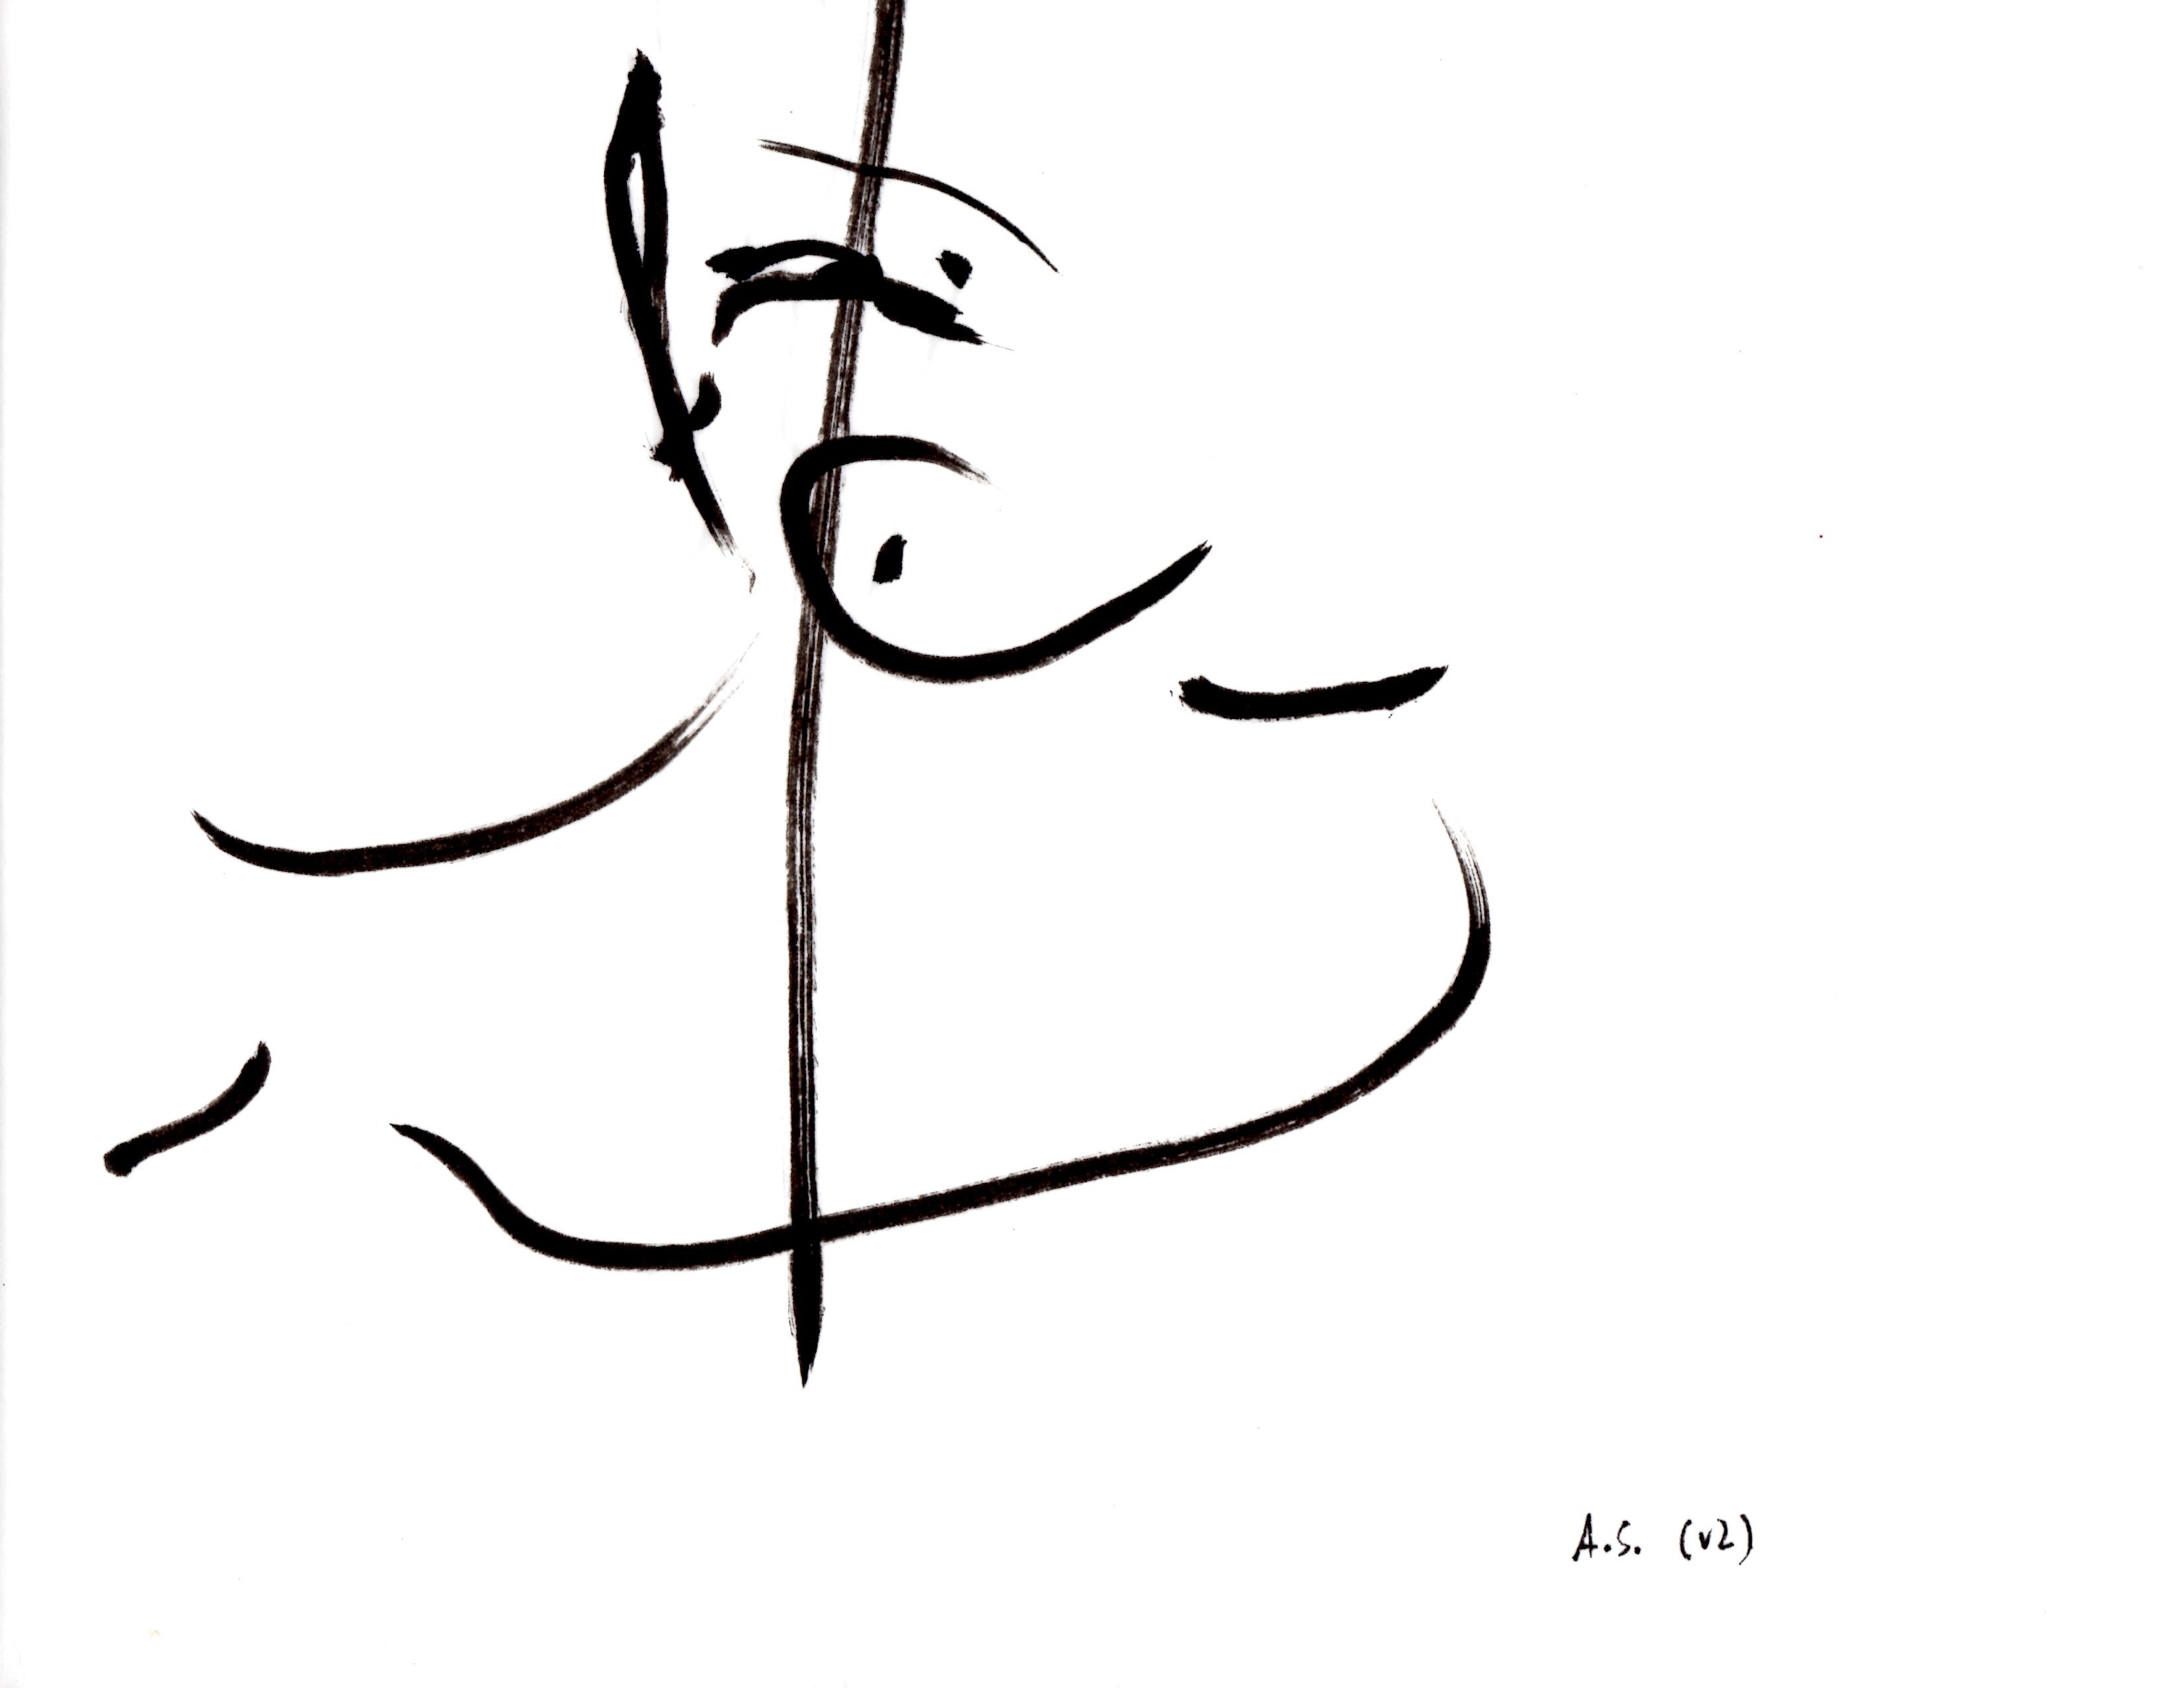

Many thanks for this!
It really did help me with a project in an art class. The project was different than yours, but also involved a magnetic pendulum for drawing.
A lot of trials and errors, but the result was worth it.
Thanks – do you have any of your results posted online? I’d be interested to see what came out of your project.
No, but I could email you some pictures.
My next step is to make the pendulum work for a longer period of time.